
If you’re a DIY musician a well stocked merch table is essential to make the most money from your gigs and shows. Here are fifteen essential merch tips I can pass on from running my own merch table over the past decade.
1) Make Sure It’s Staffed
You’re going to need someone to sell your stuff. You run the staff yourself when you’re not on stage (I still do this a lot for out of town shows). This means you’ll be busy before and after your set but it’s a great way to meet your audience (see Tip 15). You can get a friend to run the stall and reward them for their efforts with say 10% of the price of what they sell. You might possibly pay them in beer and pizza or they even might do it as a favour to help you out. You could get a local fan to help as long as you’re fine with letting a stranger handle your money.
2) Be Approachable
If you stand at the stall arms crossed or sat down ignoring people reading a magazine it won’t encourage sales. Have a smile on your face and engage in conversation with people who are ‘hovering’. It will help you drum up trade and increase sales.
Make sure whoever staffs your merch table is friendly and approachable.
3) Have A Float
You’ll need a float, a good amount of change for when people give you large denominations of notes for small value items. I find it’s best to err on the side of caution and have a larger than a smaller float. There’s nothing worse than having to dip into your own wallet to give someone change and then being unable to remember whose money is whose at the end of the night. Get a money skirt/apron to keep your merch money in one place.
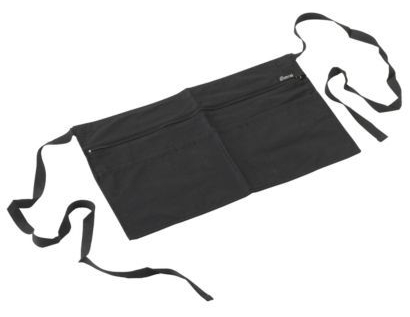
Get yourself a money skirt!
4) Get A Tablecloth
Most venues will provide a table but it might not be in the best of conditions. A good quality cloth to lay over it will help presentation. If you can get an oversized cloth you can use the excess material to cover the merch if you have to leave the stall unattended which will stop people ‘helping themselves’.

5) Label Everything
Create a price list of everything you’re selling. Laminate it and you can reuse night after night. Fluorescent stars (available from stationery shops or eBay) are good for labelling too.

These babies are eye catching and are great for labelling.
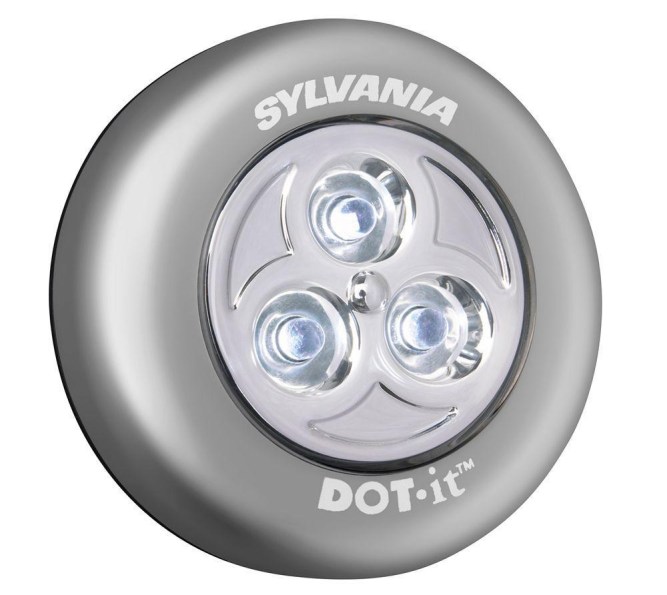
6) Let There Be Light
You won’t always be in a prime position in the venue and lighting can sometimes be an issue. Get yourself a battery operated LED light so people can see what they’re buying.
7) Selling CDs? Get One Of These
Cardboard CD racks are great at displaying CDs. Inexpensive and they fold away easily.

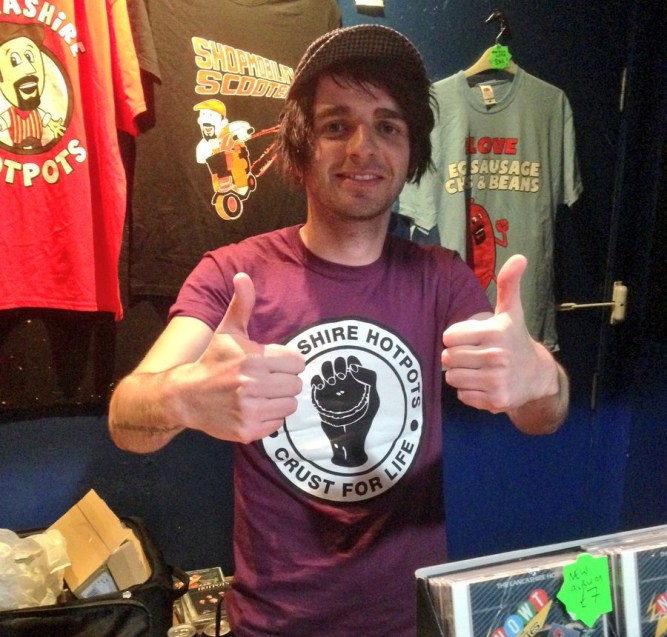
8) How To Display Your T-Shirts
There are several ways to display your t shirts. You can fold them on your table or pin or tape them to a wall using gaffer. I have a variety of designs on my merch stall so where possible I use a self assembly clothing rail. However you chose to display, make sure the designs on the shirts are easily visible.
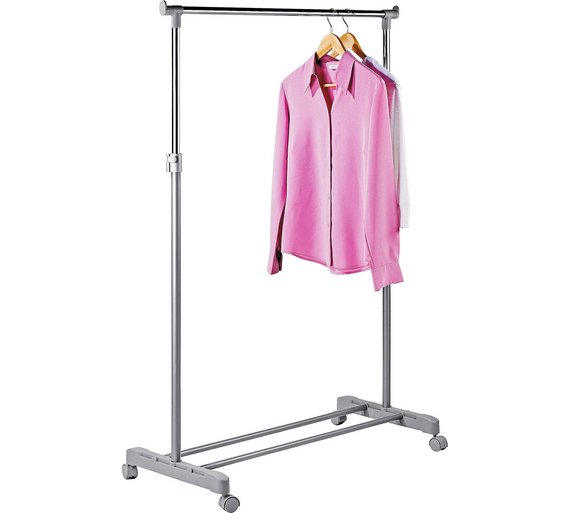
Clothing rails are cheap to buy and can be easily assembled to display your t-shirts.
9) T-Shirt Designs & Sizes
If you’re just starting out making tees, get a two colour tee (the shirt will be one colour, the screen print another colour). Once you start branching out into multiple designs, sort your shirts into sizes rather than designs. That way if someone asks for ‘Design A in large’ and you are out you can say ‘I’m out of Design A, but I do have Design B in that size’. Hopefully you’ll still get the sale.
10) Have A Range Of Prices
Create merch to suit all pockets. Start with badges and fridge magnets that everyone can afford up to tees and hoodies for the more generous fan. Different price points means that everyone will be able to make a purchase.

11) Create Bundles
Bundle together multiple items offering big discounts over individual items. Think about a three course meal in a restaurant, that’s a food ‘bundle’! If someone buys a CD offer them a tshirt for half price (or vice versa). The aim here is to increase the overall spend per customer.
12) Have A Mailing List Sign Up Form
Make sure you have a clipboard on the stall where people can sign up to your mailing list. Give away freebies (such as free stickers) to encourage sign ups.

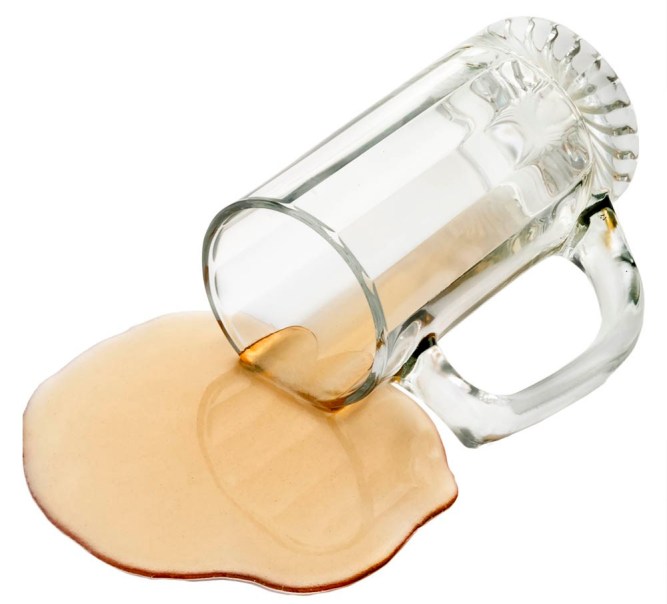
13) Beer Free Zone
A spilled beer on a merch table is bad news, one drink can ruin a LOT of merch. Have a sign which says ‘no beer on table, please’. You may have to continually point this out to those who had already downed a few!
14) Tell People To Go There
People need encouragement. During your set shout out that you’ll be at the merch table at the back of the room straight after your set and that it would be great to see you there.
15) Meet & Greet
Use the ‘facetime’ at the merch table to build a relationship with your audience. Ask them questions: Where have you come from? Is this your first show? What was your favourite song? People don’t even have to buy anything, the merch table is your opportunity to ‘press the flesh’ and get to know your audience better.
Got any questions about this post or how you can better market yourself?
Twitter: @60secondmm
Facebook: www.facebook.com/60secondmusicmarketing
Categories: Uncategorized
